What is an OnChain Passport
An OnChain Passport is a tamper-proof record of your identity stored directly on the blockchain. Unlike standard wallet signatures, which only prove you control a specific address at a single moment, or custodial IDs that rely on a central provider, the OnChain Passport allows you to own and control your verification data. This distinction is critical for self-sovereign identity in Web3.
When you mint your Passport onchain, you create an immutable log that applications can fetch to verify your status. This process replaces the need for repetitive paperwork or trusting a third party to hold your credentials. According to the Human Passport knowledge base, this onchain record is primarily required when interacting with applications that specifically fetch Passport data to ensure human authenticity and prevent sybil attacks.
This approach shifts the balance of power back to the user. You are not just signing a transaction; you are publishing a verified state of your identity that persists across the network. This enables seamless interaction with dApps that require proof of personhood without exposing your private keys or sensitive personal data to centralized servers.
Prepare your wallet and stamps
Before you mint your OnChain Passport, you need two things: a compatible non-custodial wallet and a sufficient score from an identity provider. Without these, the minting transaction will fail or result in an invalid record.
1. Set up your identity provider
You need an identity provider to generate the "stamps" (verified data points) that make up your Passport score. Human Passport (formerly Gitcoin Passport) is the most common provider for OnChain Passport.
- Visit the Human Passport website.
- Connect your wallet to the Passport dashboard.
- Complete the verification steps to gather stamps. These might include linking your GitHub, verifying your phone number, or connecting your Twitter account.
- Check your total score. Most applications require a minimum score (often 10-15 stamps) to proceed.
2. Verify your wallet compatibility
Ensure your wallet is connected to the correct network (usually Ethereum Mainnet or a supported Layer 2 like Base or Optimism, depending on the application). Some wallets require specific browser extensions or mobile app configurations to interact with dApps.
- MetaMask: Ensure the extension is updated and the correct network is selected.
- Mobile Wallets: Use a browser with built-in Web3 support (like Brave) or a wallet with an in-app browser (like Coinbase Wallet or Rabby).
- Rabby: Recommended for its security features and ease of use with multiple chains.
3. Check your score and stamps
Your OnChain Passport is only as strong as the data it contains. Review your stamps to ensure they are up-to-date. If you are using a specific application, check their requirements for minimum stamps or specific types of verification (e.g., proof of residency).

Open the dApp where you want to use your OnChain Passport. Click "Connect Wallet" and select your non-custodial wallet. Approve the connection request.

The dApp will request your Passport score. Click "Fetch Score" or "Verify Identity." This pulls data from your identity provider (e.g., Human Passport) to confirm you are a unique human.
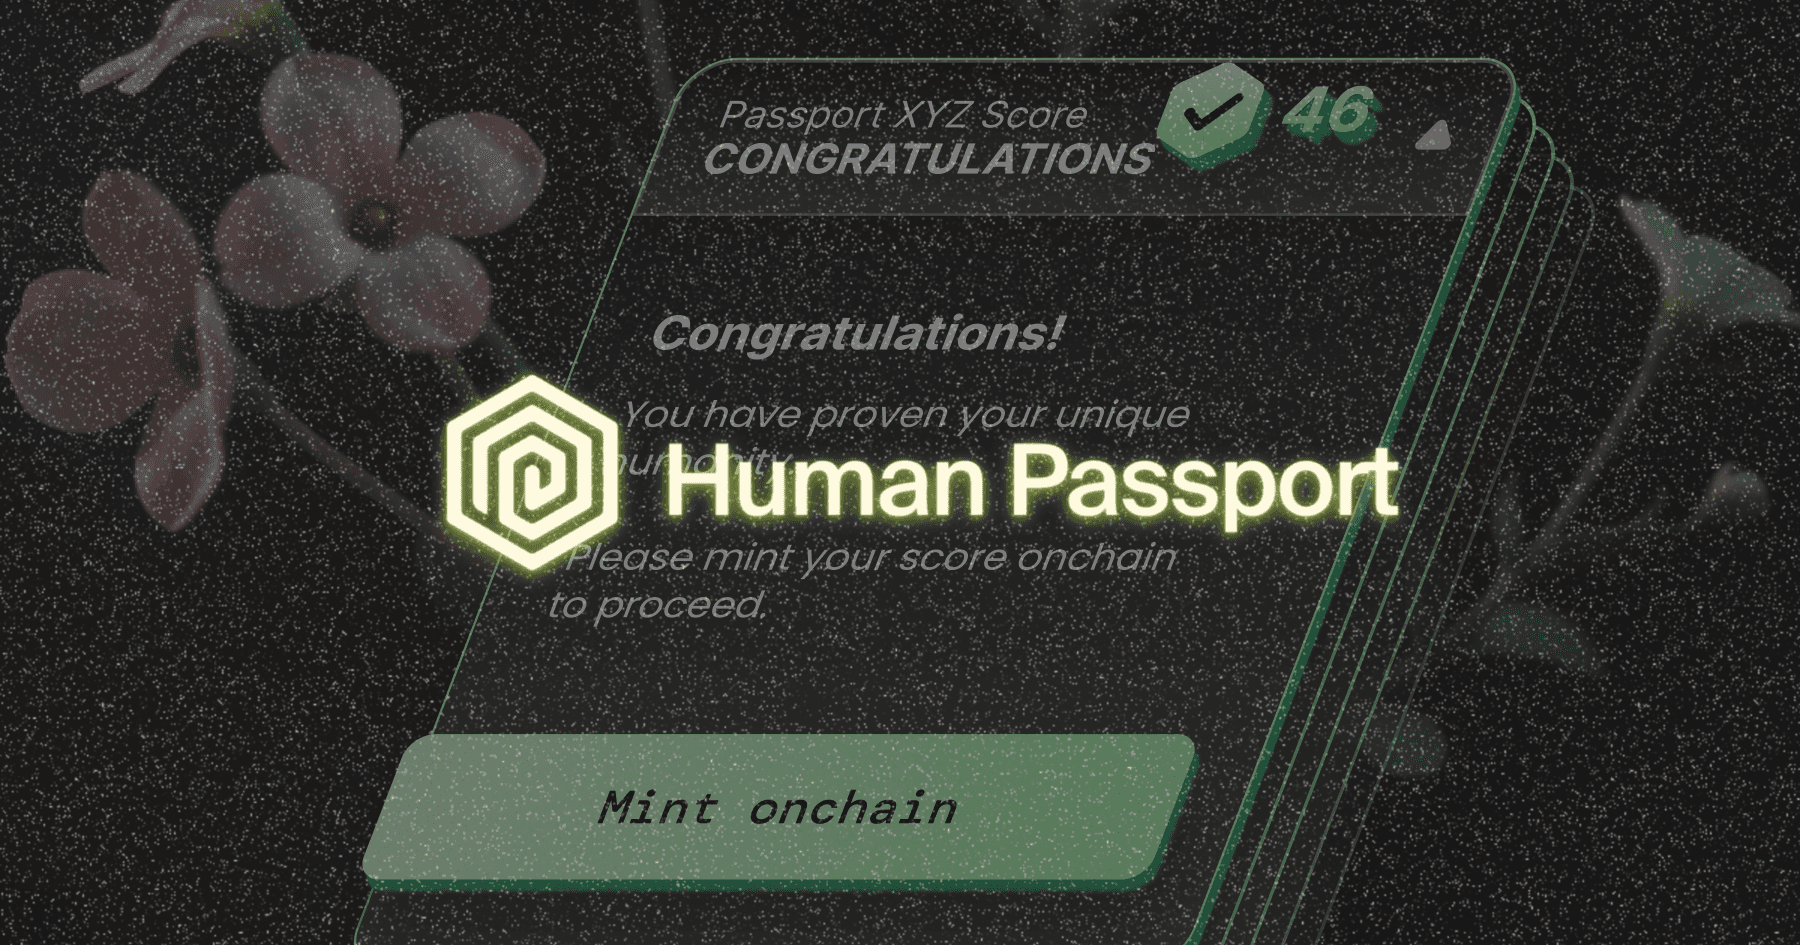
If your score meets the requirements, click "Mint OnChain Passport." This creates a tamper-proof record of your Passport on the blockchain. Confirm the transaction in your wallet and pay the gas fee.
Once minted, your OnChain Passport is stored on the blockchain. You can now use it to prove your identity across different applications without repeatedly sharing your personal data.
Mint your passport onchain
Minting your Passport onchain creates a permanent, tamper-proof record of your identity data. This step is only necessary if you plan to use applications that require on-chain verification of your Passport stamps. Without this record, your identity remains off-chain and invisible to smart contracts.
Follow these steps to initiate the minting transaction and confirm the smart contract interaction.
Navigate to the official Passport dashboard and connect your wallet. Ensure you are using a supported wallet that can interact with the Passport smart contracts. The interface will display your current on-chain status.
Choose the blockchain network where you want your Passport to live. Common choices include Sepolia for testing or mainnet networks like Base or Ethereum for production. Selecting the wrong network will result in a failed transaction or an unusable record.
Review the gas fees and contract details displayed in your wallet prompt. Click "Sign" or "Confirm" to broadcast the minting transaction. This action writes your Passport data to the blockchain, creating an immutable proof of your identity.
Wait for the transaction to be confirmed on the selected network. Once confirmed, your Passport is now on-chain. You can verify this by checking your wallet history or using a block explorer to view the minting event.
Verify your onchain identity
Minting the transaction is the first step, but verification ensures your self-sovereign identity is live and readable by other applications. Once the block confirms, your Passport becomes a permanent, tamper-proof record on the blockchain. This allows decentralized applications to fetch your stamp data for cross-chain verification without requiring you to repeat the KYC process.
Confirm the transaction hash
Return to the Human Passport dashboard and locate the minting status. Look for a "Success" or "Verified" indicator alongside the transaction hash. You can copy this hash and paste it into a block explorer for your chosen chain (such as Base, Ethereum, or Polygon) to see the onchain data publicly indexed. If the transaction is pending, wait for the required number of confirmations before proceeding.
Test the data retrieval
An onchain identity is only useful if applications can access it. To verify that your Passport is correctly indexed, visit a dApp that supports Human Passport integration. Attempt to log in or complete a task that requires stamp verification. If the application successfully retrieves your identity data and grants access, the minting process was successful. This step confirms that your self-sovereign identity is fully operational across the ecosystem.
Common minting errors and fixes
Minting your onchain passport is the final step to making your identity portable across applications, but the process can fail if specific conditions aren't met. Most errors stem from wallet connectivity issues, insufficient gas fees, or expired proof stamps. Below are the most frequent pitfalls and how to resolve them quickly.
Wallet Connection Failures
If the minting button remains disabled or the interface shows no wallet address, your browser extension may not be connected to the correct network. Ensure your wallet (such as MetaMask or Coinbase Wallet) is unlocked and connected to the supported chain, typically Base or Ethereum Mainnet. Refresh the page after confirming the connection. If the issue persists, try disconnecting and reconnecting the wallet to clear session cache errors.
Insufficient Gas Fees
A transaction will fail immediately if your wallet lacks the native cryptocurrency required to pay for the minting gas. Check your wallet balance to ensure you have enough ETH or ETH equivalent on the target network. If your balance is too low, deposit more funds from an exchange or a funded wallet. Note that gas prices fluctuate; if the transaction is pending, you may need to wait for network congestion to ease or increase the gas limit slightly.
Expired or Invalid Stamps
Your onchain passport requires valid, unexpired stamps from recognized issuers. If you attempt to mint with expired credentials, the smart contract will reject the transaction. Visit the Passport dashboard to verify the status of each stamp. If any stamp shows as "expired" or "invalid," you must re-verify with the issuer before retrying the mint. Only active, valid stamps can be recorded on the blockchain.
Transaction Reverts
If the transaction reverts with a generic error, it often indicates a mismatch between your wallet's security settings and the smart contract's requirements. Check your wallet's transaction details for specific revert reasons. In some cases, disabling "privacy mode" or adjusting transaction simulation settings in your wallet can resolve the issue. If the problem continues, consult the official Human Passport knowledge base for network-specific troubleshooting guides.
No comments yet. Be the first to share your thoughts!